

Lime Wash Painting Techniques
Lime wash painting is a style of painting that uses thin layers of color to create a gradient effect. Lime was paintings are very popular in interior design, including furniture, walls, and even flooring!
Learning how to lime wash paint takes some time to get used to the techniques required. The main ones being thin layers of paint, letting them dry slightly between each layer, and finally adding a slight glaze over the top.
The last part is what makes a true lime wash painting. The glaze creates the subtle shift in color that creates the style. How thick or thin of a glaze you use determines the intensity of the lightened area.
There are many ways to start a piece of lime washed art. Some artists choose to use blank canvas or paper and add paint or ink onto it, others start with already painted pieces and add the lime wash effect on top.
Apply the base coat

Photo by Blue Bird on Pexels
Before you can begin painting your wall, you must first apply the base coat. The base coat is the layer that will cover your wall color and serve as the canvas for your design.
Typically, a white primer is used as the base coat, but since you are painting over the lime wash, a clear primer will do the job. Make sure to get enough of the primer so that you can thoroughly cover your wall and then some- you do not want to run out of primer while painting!
Some people choose to use two primers- one white and one clear- to further enhance their design. This is up to you and what level of realism or contrast in color you want in your design.
Another important detail about the base coat is making sure it is thick enough. If it is too thin, then parts of the underlayer may show through, breaking down your entire design! Make sure to get a good, thick coat that covers all of the wall surface.
Use a spray bottle to dampen the surface
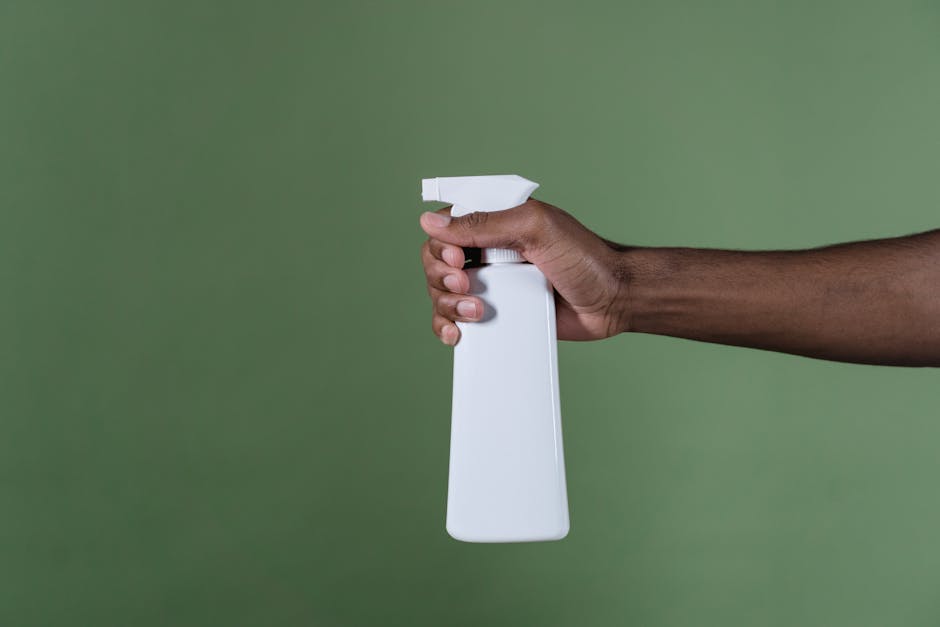
Photo by Tima Miroshnichenko on Pexels
After applying your lime wash layer, you can use a spray bottle to lightly dampen the surface of your piece. This can be done as soon as the layer is dry to the touch, usually hours or a day after application.
The piece can be left to dry for several days before continuing the process, as long as it is completely covered in lime wash. Once it is washed down, it will need to be re-covered in new layers to achieve the desired effect.
This is done to help create an eroded look, where darker areas appear more solid and defined, and the lighter areas seem to wash away. The darker areas are actually painted on top of a very thin layer of lime wash paint!
You can also do this with a spray bottle of water to create a more dramatic washed out look.
Apply the wash
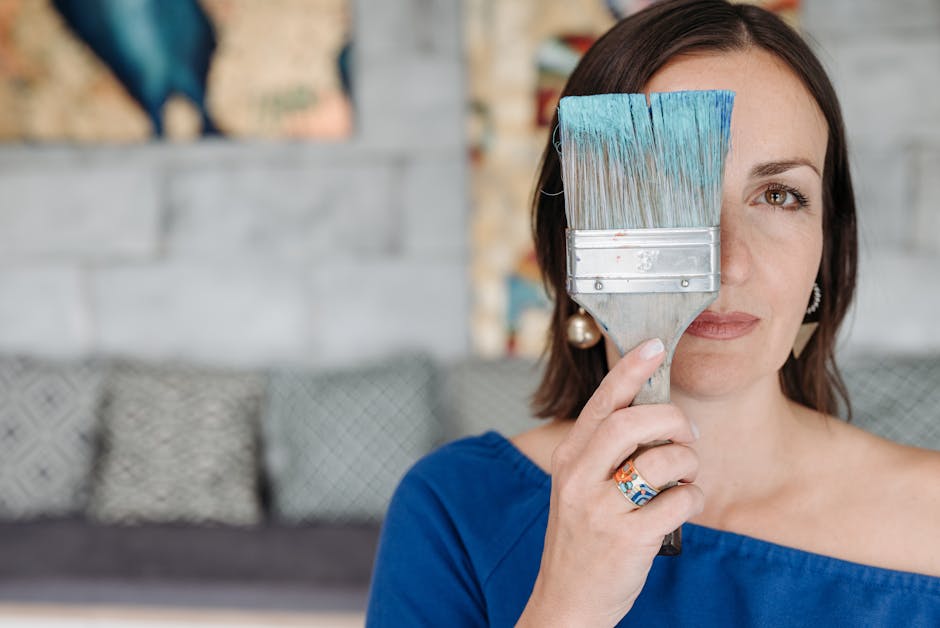
Photo by Pavel Danilyuk on Pexels
Once your surface is ready to be painted on, you can start applying the wash. A wash refers to the method of lightly flooding the surface with pigment. This can be done by dipping a brush into a paint tray, then pulling it through the surface or brushing it on.
The first way is easier, but can result in too much paint on the surface. By brushing it on, you can control how much paint is on the surface and where it is coming from.
Washes can be water based or oil based depending on what kind of finish you want your painting to have. Water washes give a more luminous finish due to this. Oil washes are great for creating a rich texture and lasting durability.
When painting with washes, it is important to keep in mind what color will be underneath your top color.
Use a bristle brush to move the wash
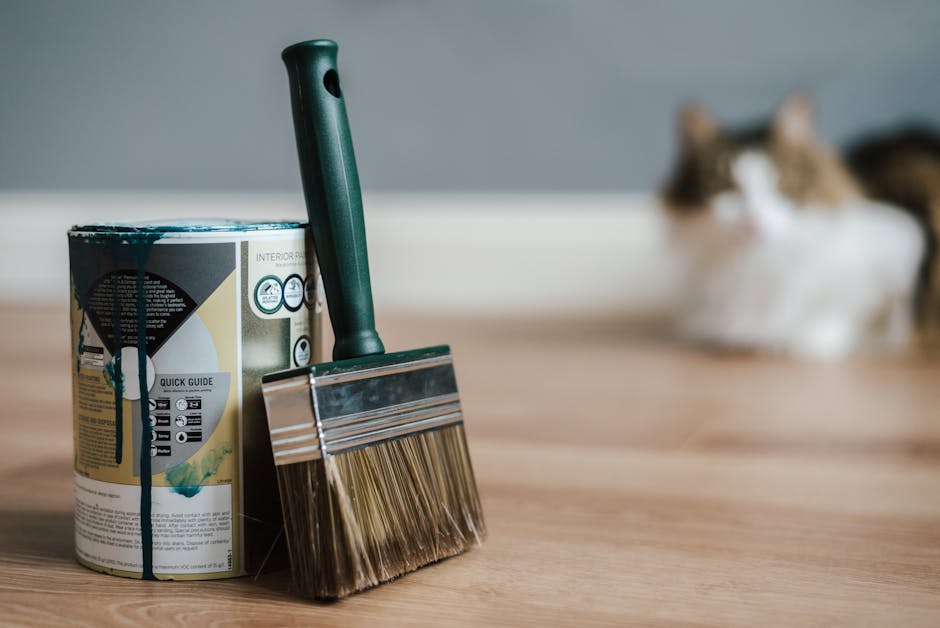
Photo by Anete Lusina on Pexels
Once you have your wash ready, the next step is to use it. A key part of lime wash painting is how you use the wash.
Many painters simply dip their brush into the wash and then brush it onto the wall. This can result in very heavy coverage, which may not be your style.
Instead, try using a bristle brush to move the wash across the wall. Then, begin to blend the edges of the wash with a wetter brush until you achieve your desired effect.
You can also use a smaller brush to create more details in your painting. Try using a round brush with a shorter bristles for these details to ensure they do not get too thick and messy looking.
Using a fan-shaped brush is also an option for moving washes around. These are typically thinner brushes which give more subtle blending effects.
Let it dry and apply another layer
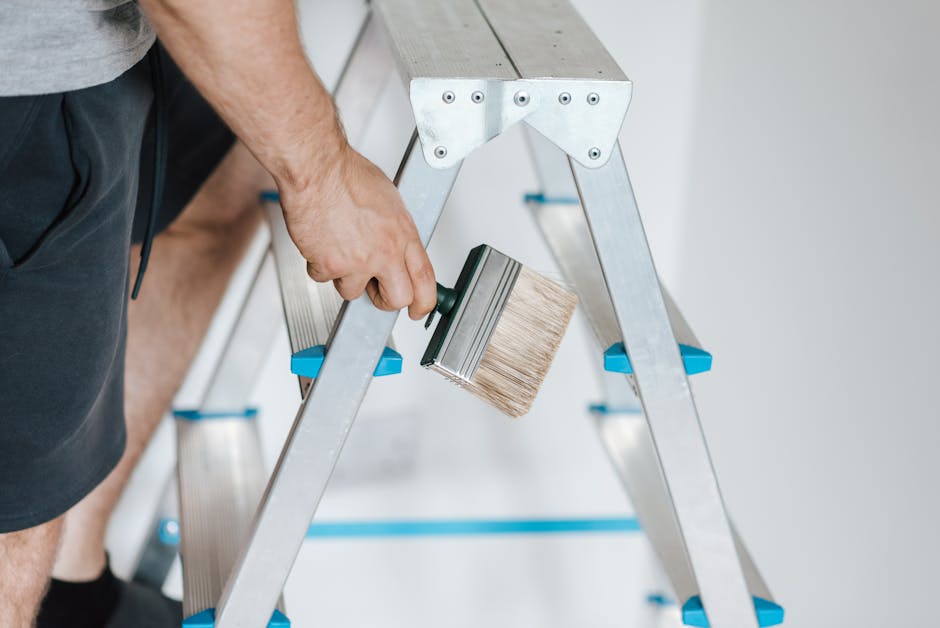
Photo by Anete Lusina on Pexels
Once your lime wash layer is dry, you can go back and add more layers. Make sure to sand in between each layer to remove any shine from the previous layer. This will ensure the layers stick together!
Many people stop at one layer, but it is up to you how many layers you want. The more layers, the darker and richer the paint will be.
Some people even go as far as five layers, making the final product very rich and intense in color. Some other colors are mixed into the lime wash to make this happen.
If you want your painting to be lighter, then do not add any additional layers! One of the most important things when painting with lime wash is getting the right intensity of color.
Finish with a final layer of paint and let dry

Photo by Vlada Karpovich on Pexels
Once you have completed painting your piece, you will need to finish it with a final layer of paint and let it dry. Make sure that your last layer is thick enough to cover all the edges of the underlying layers of paint.
If you have problems with your piece sticking to the canvas or board, try using a medium to add texture to your painting like gesso or texture paste. This will help when trying to peel off the artwork when it is dry.
Once dry, brush off any excess powder from your piece and hang it up! Be proud of what you created!
These tips should help you with your lime wash paintings! Try them out and see if they work for you. If this was helpful, spread the word and share this article with other artists looking to up their game.
Test various materials for creating patterns with washes
Photo by Karolina Grabowska on Pexels
Once you have your lime wash, experimenting with what material you use to transfer the wash to the wall is fun. You can use sponges, towels, rags, cotton balls, and more.
Some people even use paper to create patterns in the wash before it dries, then peel off the paper when it is dry. You can also dip objects in the lime wash before it dries to embed them in the wall when it is dry.
We recommend trying various techniques before starting your project to see what works best for you!
Some people prefer not to have very visible patterns in the lime wash on their wall, so using a solid color brush and painting over the wet lime wash with a solid color may help mask some of the patterning.
Use water to create a transparent wash
When using lime wash to create surfaces, you can use water as the medium in which to apply it. You can create a transparent wash by mixing lime wash with water, then spreading it over the surface to be covered.
The trick is to use enough water to spread the lime wash, but not so much that it washes out the powdered clay. Once it dries, you will be left with a beautiful, light surface that has an ombre effect.
The more water used in the mixture, the lighter the finish will be. This is because all of the particles of lime wash will not stick together when there is too much water present.
To achieve a more solid color, use less water in your mixture. This will require more time to dry due to less porousness, but will end up with a solid color.