

How To Photograph Products For E-commerce

Photographing products for ecommerce is a skill that is in high demand right now. With so many online stores popping up every day, product photographers are getting more and more jobs.
Tech giants like Amazon are even funding photography workshops for aspiring product photographers!
Tech giant Google also offers a free course on product photography through their Photoworks Academy. It is an open access course, so anyone can sign up!
As with any other type of photography, there are some basic tips and tricks that apply to all shoots. This article will go into some of those and explain how to use them to shoot for ecommerce.
Product photography can be very tricky, as there are many different ways to shoot a product for the web.
Find the perfect lighting
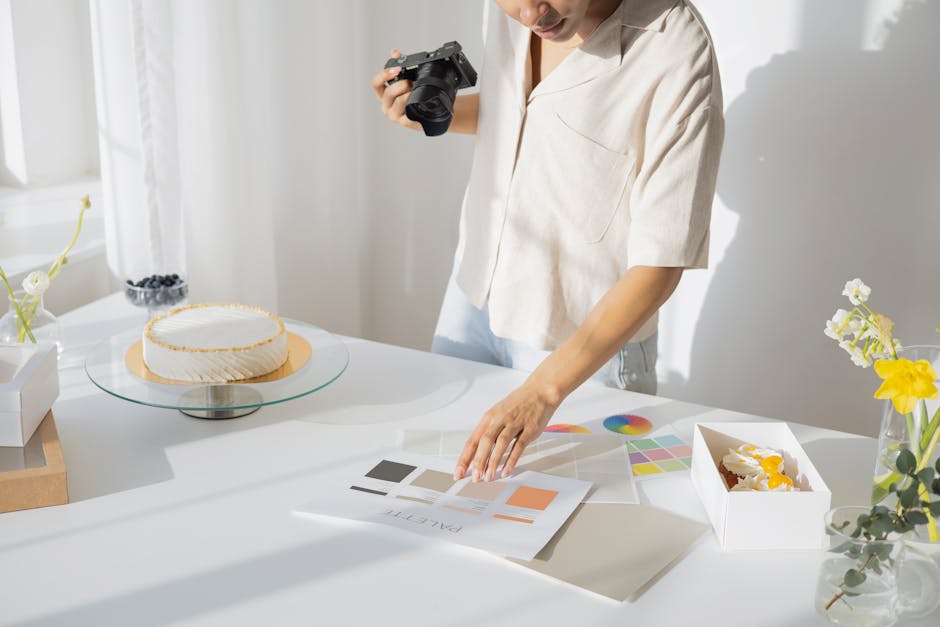
Photo by Anna Nekrashevich on Pexels
Once you have found a nice background, the next step is to find the right lighting for your product photo. You want to make sure that your light comes from a direction that shows off the product features well.
Product photography is a little bit of art and science. The art part comes in with choosing the right background and finding the right lighting. The science part comes in with choosing the right camera settings to get the most high-quality image.
There are two main types of light: natural and artificial. Natural light is sunlight or other natural sources of light, like moonlight! Artificial light is lights that we use for filming, like our studio lights or desk lamps.
For product photography, artificial light is most common because we can control it.
Find the perfect background
Once you have your product in the right position, your next task is to find a perfect background. You want something that complements your product and does not take away from it.
A simple white background can look very classic and sophisticated. If you want to add some flair, add a light color or texture behind your product. For example, if you have a pink lipstick, put it on a bright orange paper pad to add some pop!
For products that are difficult to shoot, like skincare products or candles, try shooting them in a clear glass or jar container with water as the background. This way your viewer can see how much of the product there is and what it looks like.
To avoid having to edit out unwanted elements in the background, try shooting outside where there are natural backgrounds such as grass or trees.
Adjust your angles
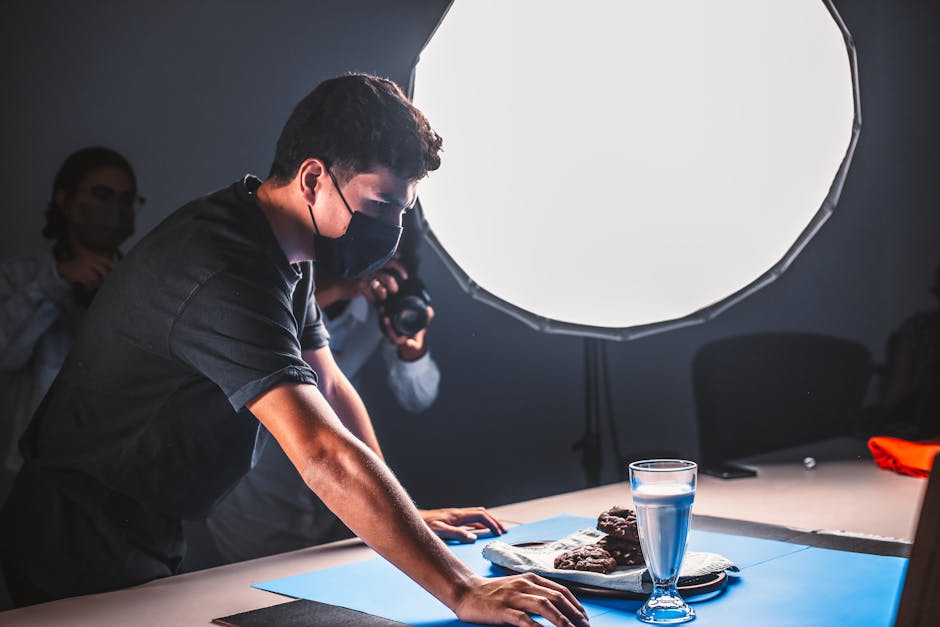
Photo by Luis Quintero on Pexels
When taking photos of products, avoiding straight-on shots is important. These can be boring and show little of the product.
By adjusting your camera angle slightly, you can showcase more of the product and its features. Try shooting from above to showcase the product in its entirety and how it functions.
Try shooting from the side to showcase the length or size of the product. Both of these shots can be used in marketing materials to prove quality or size.
Switching up angles can make all the difference in how your photo looks and what it conveys. Try experimenting with all angles to find your favorite ones!
If you are having trouble finding good angles, look up some high-end fashion sites or look at some high-end brands’ website pages to see how they shoot their products.
Adjust your zoom
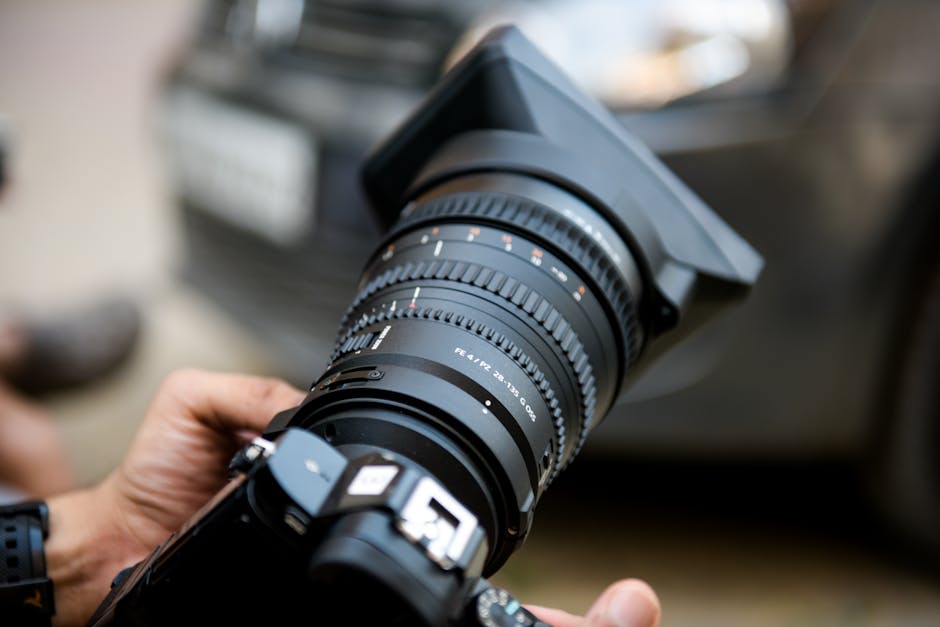
Photo by Rakesh Gohil on Pexels
When shooting products, it is best to adjust your zoom level to fit the product in the frame.
If the product is small, zoom out so that the viewer can see the shape and size of the product. If the product is large, zoom in so that it fills most of the frame.
This way, you are showing off as much of the product as possible, which is what consumers want to see!
Using a zoom feature on your camera or smartphone may make it difficult to get these perfect frames, so try zooming before shooting and moving around if necessary.
Some cameras do not have a very high resolution so if this is the case, try zooming in more to get more detail on the product. Otherwise, try shooting in lower resolution for easier editing and posting.
Take multiple shots of the product
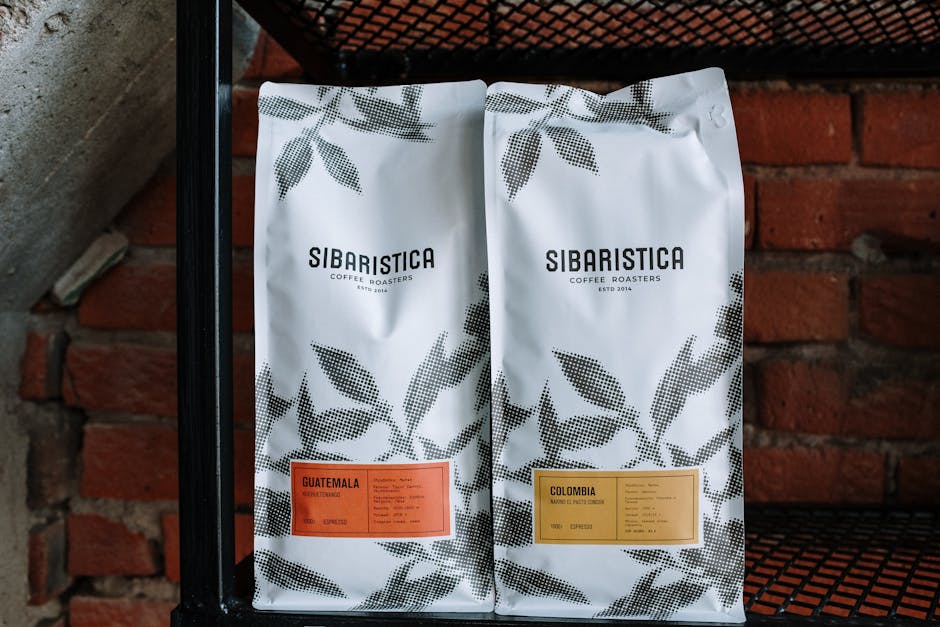
Photo by cottonbro studio on Pexels
While it is good to have some variety, do not take hundreds of pictures of the product. That will only waste your time and memory on your camera or phone.
Instead, ask the person manning the stall how they would like their product displayed. Then, take a few shots of the product displayed in different ways.
Some people like to have their products stacked or laid out on a surface, while others like being photographed in motion. Take note of this and capture that!
By having more pictures of the product, you give other users options on how to display it on their pages. Some people may not know how to do that, so giving them options is helpful.
Also, if someone cannot find one good shot of the item, they can use another one that you took to display it adequately.
Create different poses for your product
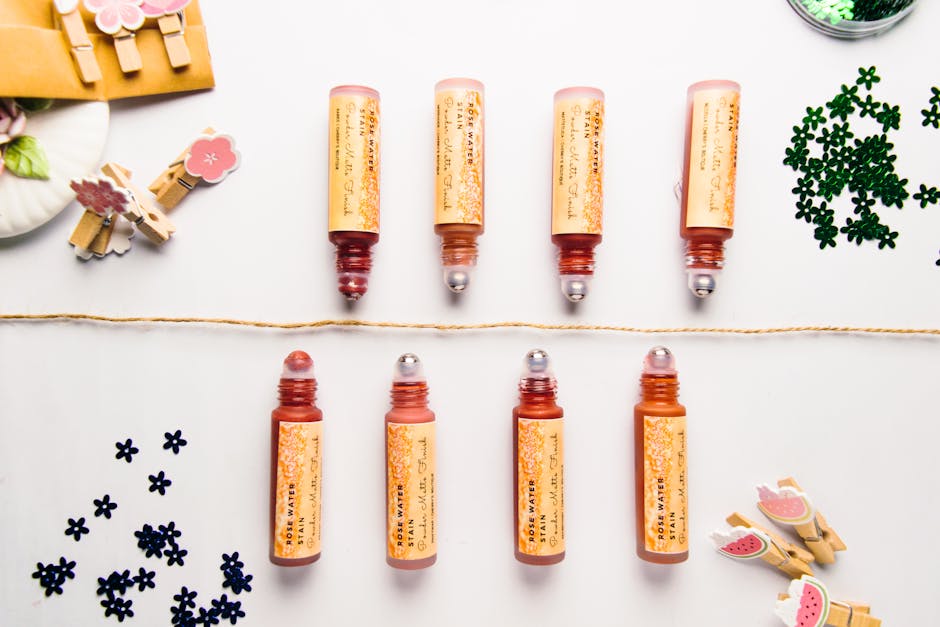
Photo by Jefferson Palomique on Pexels
When photographing products, instead of just taking one picture and calling it a day, try creating different poses for your product.
Different poses can create more interest and appeal to your viewers. For instance, if you shot the product from all angles in the natural light, then added some flair in the shadows with a flash, that would be quite interesting!
By experimenting with different lighting and adding shadows to the product, you can create some cool artistic shots. If you are not too familiar with photography apps on phones or software like Photoshop or Canva that can add shadows, then get acquainted! It is very easy to learn.
Another tip is to photograph products at different times of the day. If you shoot your product at noon and take pictures in the studio under harsh lighting, then take some outside in the natural light at dusk or dawn, your pictures will look a little more interesting.
Use props to enhance your photo
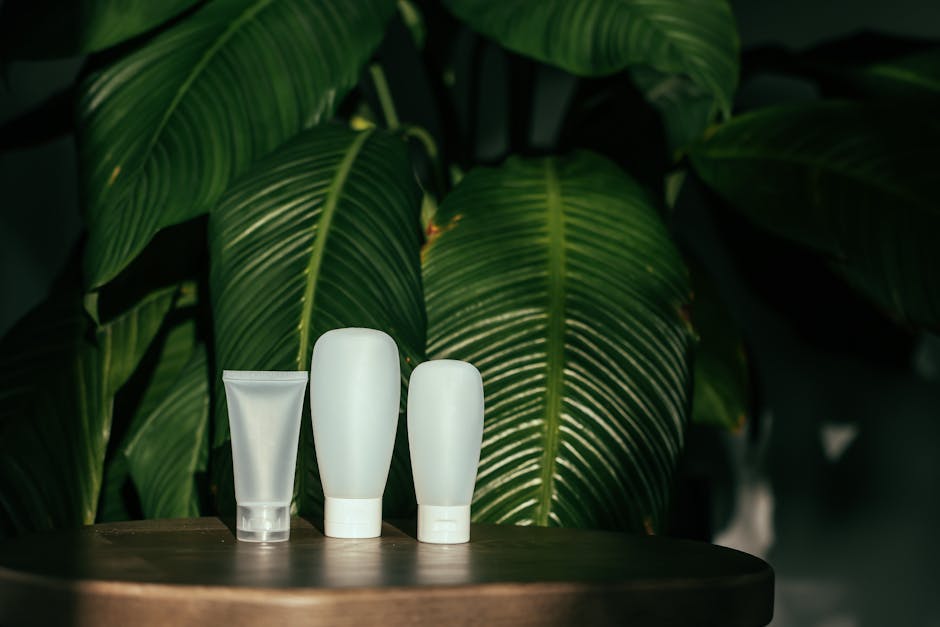
Photo by Cup of Couple on Pexels
Props can help add dimension and context to your photos. You can use them to show how your product uses in the real world or to add interest to the shot.
For example, if you are taking a photo of a coffee mug, you can use a paper cup as a prop to show how the mug fits coffee. You can also add coffee or sugar cubes as it adds shape to the mug.
Props can make your photos more interesting, and they are free! Just make sure they match with your product.
Using lots of different props is not a good idea as it may distract from the product itself. Choose ones that enhance your product and do not spend too much money on extra pieces.
Pay attention to detail

Photo by Emma Bauso on Pexels
While is is important to capture the entire product, it is just as important, if not more important, to capture the product in detail.
Showing the details of the product will help convince a buyer that they need it. How?
If a shopper can see how the product looks and how it is made, they will feel like they know enough about it to buy it.
It shows that you care about quality and that your shop or site sells high-quality products. It also gives the shopper something to compare their purchase to once they have it in hand.
With photography, you can never really go too far with the detail shots.